We’ve done a lot of garden maintenance over the past few weeks. Mostly mowing and viciously attacking the nettles (and we’ve not made much of a dent in either, if we’re honest).
What we haven’t done much of is make progress indoors. That’s been frustrating me (Vix) because there’s so much to do.
So, this past weekend, we decided to Make A Dent In The Attic. Literally.
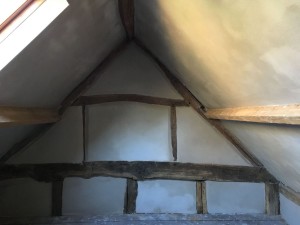
Here’s what it looked like before. The sleeping end:

The sleeping end (and a prisoner on day release)
You can see there’s fibre-board laid between the beams and over the rafters. And there’s a whopping great big ridge beam that looks original (hurrah!).
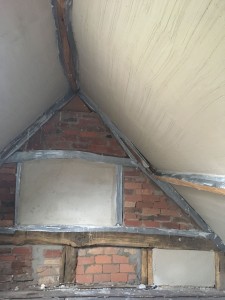
And here’s the other end – there’s going to be a dressing / sitting area in the middle, then a shower room at the far end. (It’s a huge space.)

The other end, complete with dodgy sauna cladding
You can see at this end, there’s pine sauna-esque cladding running up to the “ceiling”, which has been lowered. We’re going to remove all this and expose the original ridge beam.
Where the paint line is, is where the old train set ran around the room. The chap who lived here had this amazing train set. He’d built an entire landscape, and it must have been quite the thing when it was going. I love miniature stuff, so I would’ve loved to have seen it. It was mostly disassembled when we moved in, so we took the rest out and gave the train tracks to Joe’s niece’s friend.
Anyway – the weekend task was to rip as much of the cladding out as we could. We’re stripping it right back to the rafters and then starting again.
We’re also considering putting new oak beams in to support the roof, because the white ones you can see in the photos are cheap softwood. They’ve also been bodged in and are a right mess where they join at the truss. We’re not boxing them in because we want the space, so we’re considering replacing them with oak, which will look amazing and will last longer than we will.
Watch this space.
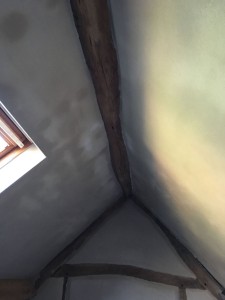
This is the old staircase opening, which we’re removing. The staircase is serviceable for occasional attic use, but no good for regular use.

Old staircase opening
We’re having a new solid oak staircase built by the same chap who built our friends’ beautiful new staircase. We’re widening the opening at the top and it’ll look amazing. We’re also thinking we might have stairs built up to the truss so we can climb onto the beam easily then faceplant into bed from a height. Fun!
Here’s the plans drawn up by our master craftsman. It’ll be in before Christmas…

Our chosen stair plan.
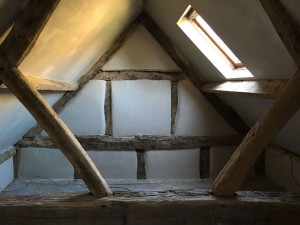
In the meantime, though, here’s how far we got with the destruction…

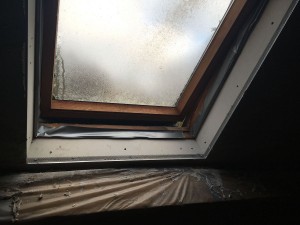
Exposed rafters and one of many wasp nests
This is pretty much what the sloping walls look like now. We uncovered three solitary queen wasp nests, beautifully built. And a full, gorgeous paper wasp nest. All abandoned.
And bird nests. Not so much nests, actually, as an entire bird housing estate… I think that was mostly responsible for our roof insulation. Thankfully, the roof and the weatherproofing are in really good condition.
There is, however, a random course of bricks that has been placed beneath the roof where the walls join, so we’re going to need to look at that. Not least because they all move alarmingly when you at them hard. I think a soffit should be there. We’ll dig into that.
We haven’t uncovered the ridge beam yet – that’s next weekend’s dirty task.
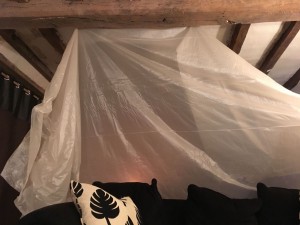
In the meantime, here’s a beautiful wasp nest that resembles The Scream…

The Scream
Next up: finishing the destruction, then installing new horizontal beams and starting the plastering.