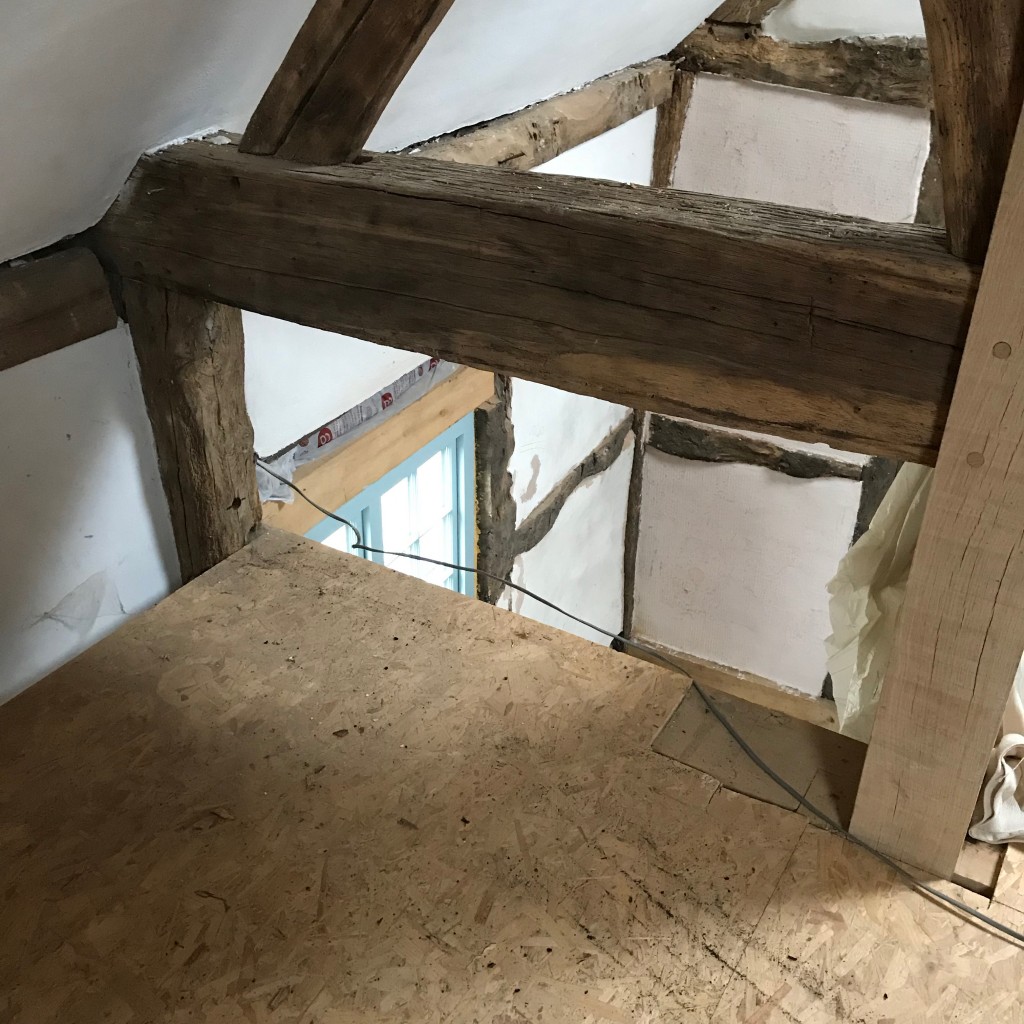
When the new amaze-stairs went in, we were left with some pretty triangular strut-work above the truss, and two big gaps below, one on either side of the stairs.

It’s an ‘ole. Needs filling.
So we got down to filling them.

Framing the big ‘ole.

Lovely tidy cork panel
Like the gable end wall, we used the cork panels and lime-cork-hemp plaster-glue to stick them together. We’ve only done one so far, because the builders will need to use the other hole to fit the last floor joists and we don’t want to do the job only to have it damaged. We’re pretty quick at doing this panelling now anyway, so it won’t take long.

Scratch coat of lime plaster.
Then we got the scratch coat of lime plaster on.
It’s made a big difference to the feel of the attic bedroom already.
Under The Eaves
While we were there and had the gloop made up, we turned our attention to the gaps under the eaves. Here’s where we made a mistake a year or so ago.
When we got overexcited about the attic ceiling panels we’d fitted, we rushed ahead to get them plastered with lime by the expert chaps at PlasLime. They did a great job, exactly what we’d asked for… oh, if only we’d thought it through properly.
At the time, we didn’t know what we were going to do about wiring up the attic, so we asked them to leave a couple of inches gap at the bottom between the sloping ceiling and the supporting timber.
Turns out, we’re mounting all the wiring on the surface using The Most Expensive Wire In The World. So we didn’t need those gaps… and now we need to fill them. Doh.
So we did.
We’re using offcuts of cork:

Waste not, want not
And stuffing them into the eaves gaps with the cork-hemp-lime-plaster gloop:

Filling gaps
That gap beneath the timber is annoying. When we put the new windows in, the wall panel above slipped down a little. We need to kick it out and replace it anyway because it’s brick, and we want to cork it, but still…
Then Joe got up on a ladder (I don’t do ladders because they are HORRIFYING) and wobbled around filling more gaps until the gloop ran out:

Precarious gap-filling
Plastering: The Final Coat
Finally, we decided to have a go at putting the posh top coat of lime plaster onto one of the gable-end wall panels:

Putting the top coat on
Joe’s done a really lovely job. It needs a little sanding and finishing, but it looks great:

Looking smooth!
Coming up next: Tiny Sheep Agility Training!

Leave a Reply